Hello everyone. Good Gravy! I cannot believe in less than a week I went from 42 followers to 74--WOWSERS!!
Thank you so much everyone and I hope I can live up to everyones creative expectations :)
I mentioned in previous posts I had a lot of birthdays in March. Last week you saw the picture frame card I did from my 3 yr old son for my MIL's birthday. I was bad and didn't do one from my hubbie and I.
But my 9 yr old wanted to do one. She knows my MIL likes birds and the color purple. So, she picked out the papers and went through a few of the cricut books and tol me what she wanted for a picture.
Then, she tells me she wants a "long fold up card!" I have never ventured out of my box to do anything like that. So I got my gypsy and my favorite card card--Gypsy Wanderings and started trying to figure it out. LOL
~~~~~~~~~~~~~~~~~~~~~~~~~~~~~~~~~~~~~~~~~~~~~~~~~~~~~~~Go take a look at
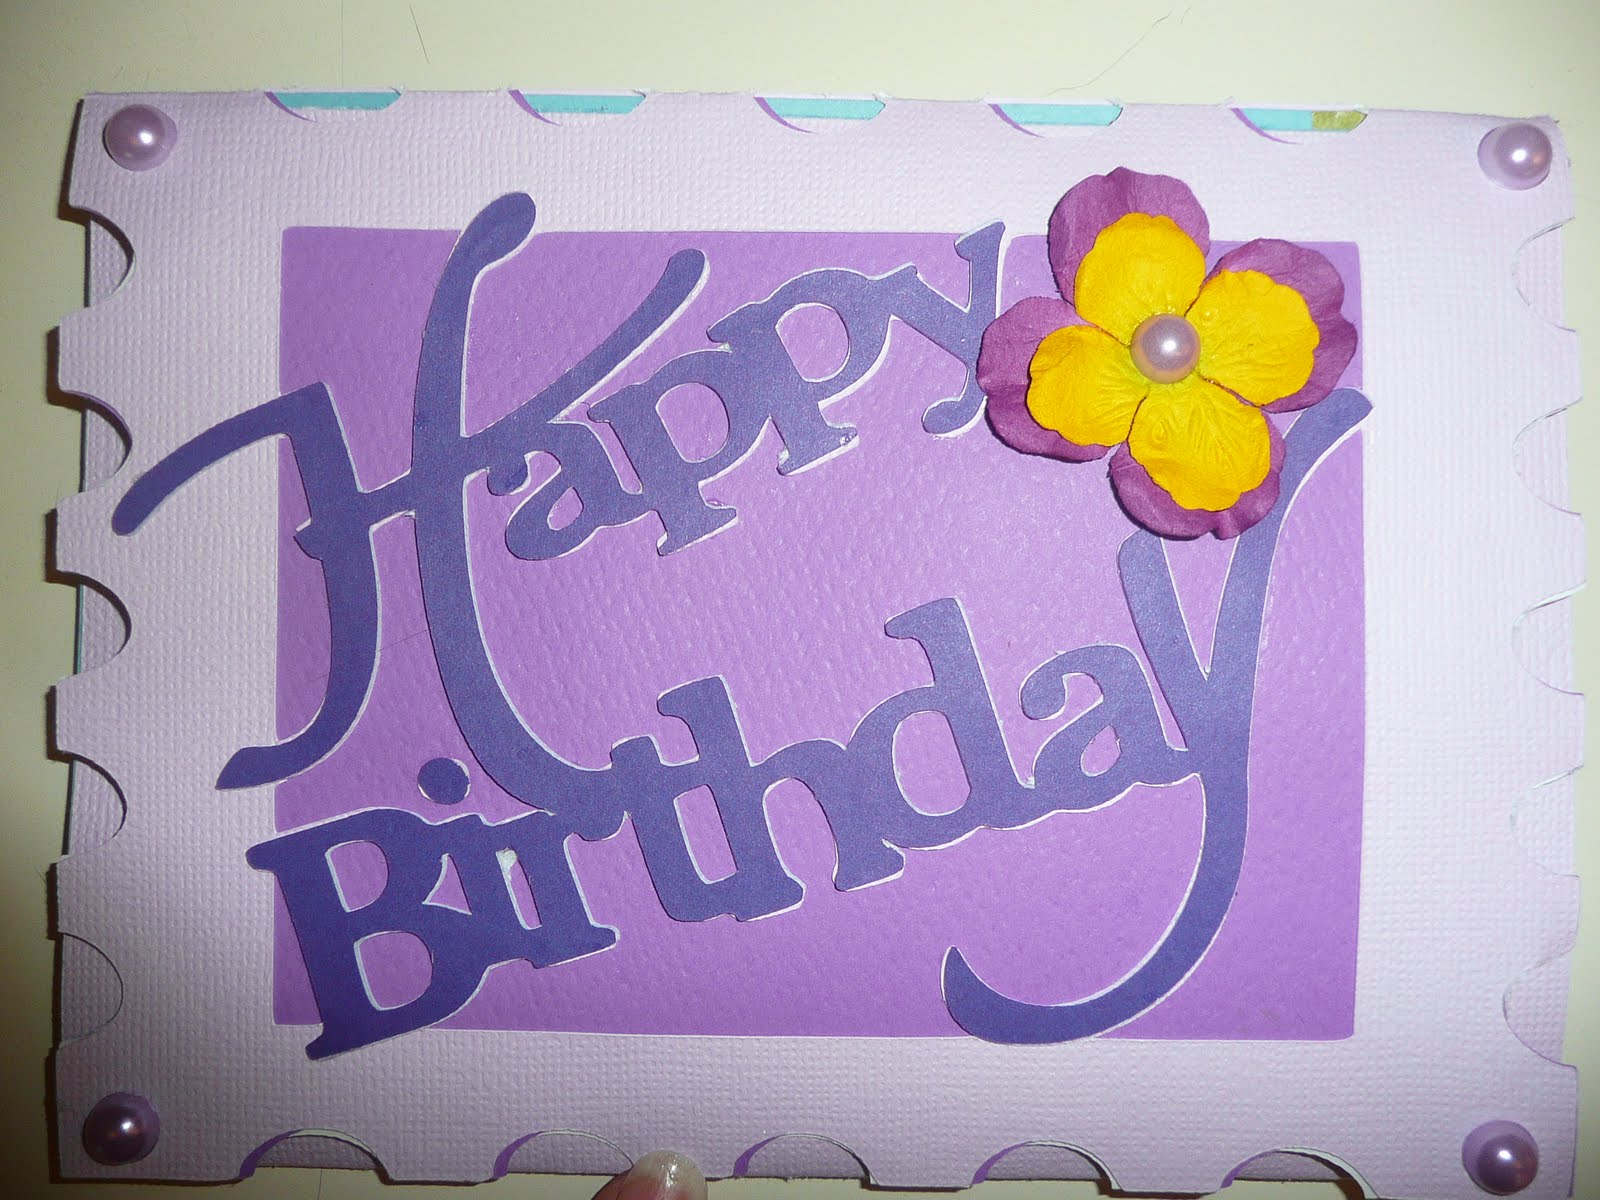
Sheila at She's a Sassy Lady's video and this is what started our inspiration for a window card with a phrase inside. I'm sure there were easier and quicker ways to do it but it took me a bit to get the words "Happy Birthday" positioned just right inside the frame. And, even though the words WERE already welded together in Gypsy Wandering, I STILL had to "weld the welded phrase" to the frame so it would cut the way I wanted. That meant resizing and resizing and nudging and stretching. Hopefully all this makes since by seeing a little visual.
So, first I did the postage stamp frame from the GW cart at 5x7. Then I took another rectangle frame cut from GW at 5x7 and used hide/contour for the inside frame part so it wouldn't cut as a frame. Then I duplicated that. Then, I nudged all of those shapes together, grouped and welded. After that, I worked on my Happy Birthday phrase to weld as much of the wording edges as possible to the inside frame. Then, I grouped/welded the phrase to the postage stamp frame. All was cut in one shot in lavender paper.
After that, I copied the phrase and pasted to a blank layer so I could cut that in darker purple (and to give some thickness to the wording. I did that 2x) and there are 3 layers to the phrase "Happy Birthday." The blue for the sky was cut as 2 welded 5x7 cuts (the postage stamp card cut was unwelded)


Carts Used & Size:*Gypsy Wandering (Card Base with frame, the words Happy Birthday (5.62 x 9.39), all extra card mats in the various colors) All card bases at 5x7.
*50 States--for the Robin--cut at 1.25
*Paper Pups--Clouds at .75 and .90, they are double layered clouds so I did hide/contour for the inside part, then hide/contour for the outside part so I could cut on white, then blue paper.
*Give A Hoot--Tree I think was 5" tall
*Walk in My Garden--All flowers and cut at 1" and the sign, cut at 2"
*Life's A Beach--White Chair and cut at 1.50, the welded word "Relax" was also LAB but the blackout/shadow feature and then I cut the word off the bottom of the chair.
Other Details:Purple cardstock was DCWV and the Blue for sky was Bazzil, Green for grass was sticker paper I've had fooooorrreever from CM. I used Distress ink pad and ink applicators to shade the robin. The lilac pearls are from Michael's $1 bin and the flower on front was Prima, with another pearl glued down in the middle. I used my ATG and scotch quick dry glue. For the grass, I used a CM tearing tool and tore the green sticker paper's edges.
Can I say that cutting those flowers at 1inch was a bear to put together LOL. My MIL LOVED it and my daughter was so proud of her design work. LOL


